Organizing Content with Taxonomies
Many blogs and content systems let you place your posts in categories and apply tags to your posts. This logical grouping of content is known as a taxonomy. Hugo supports categories and tags out of the box and can generate category and tag list pages automatically. All you have to do is add categories and tags to your front matter.
Open the posts archetype at archetypes/post.md and add some default categories and tags:
| | categories: |
| | - Personal |
| | - Thoughts |
| | tags: |
| | - software |
| | - html |
Adding these defaults to the archetype won’t affect the content you’ve already created, so open content/posts/first-post.md and add categories and tags there too:
| | categories: |
| | - Personal |
| | - Thoughts |
| | tags: |
| | - software |
| | - html |
Both categories and tags are lists of items, so you need to use the correct notation in YAML. Hugo supports TOML and JSON front matter as well, so you could use those for your posts instead if you find those easier to manage.
By adding the tags and categories to your post, Hugo will generate pages for those using your default list layout. Visit http://localhost:1313/tags to see the tags list:
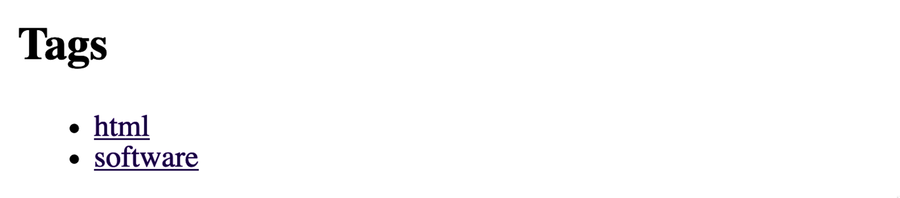
Selecting a tag shows you a list of all of the pieces of content associated with that tag.
Visit https://localhost:1313/categories to see the list of categories:

When you visit https://localhost:1313/tags, you’re looking at what Hugo calls “taxonomy terms.” When you look at a specific tag, that’s what Hugo calls a “taxonomy.” This becomes important when you’d like to customize the layouts for these pages. Let’s alter the tags list so it shows the count of items associated with each tag in addition to the tag.
To customize the page that displays the list of all of your tags, create a new layout named tag.terms.html. Place it in themes/basic/layouts/_default/.
In the new file, add the usual layout boilerplate, including the title and the {{. Content }} pieces. Instead of iterating over the related pages like you have done in previous list templates, iterate over all of the tags for the site with .Data.Terms. This will give you access to the number of content pages associated with each tag:
| | {{ define "main" }} |
| | |
| | <h2>{{ .Title }}</h2> |
| | |
| | {{ .Content }} |
| | |
| | {{ range .Data.Terms.Alphabetical }} |
| | <p class="tag"> |
| | <a href="{{ .Page.Permalink }}">{{ .Page.Title }}</a> |
| | <span class="count">({{ .Count }})</span> |
| | </p> |
| | {{ end }} |
| | |
| | {{ end }} |
You’ve included {{. Content }} in the layout. When you’re looking at the /tags section of the site, Hugo will look in content/tags/_index.md for that content. Create the _index.md file now using:
| | $ hugo new tags/_index.md |
| | /Users/brianhogan/portfolio/content/tags/_index.md created |
Open the file in your editor and add some content:
| | --- |
| | title: "Tags" |
| | date: 2020-01-01T15:17:39-05:00 |
| | draft: false |
| | --- |
| | |
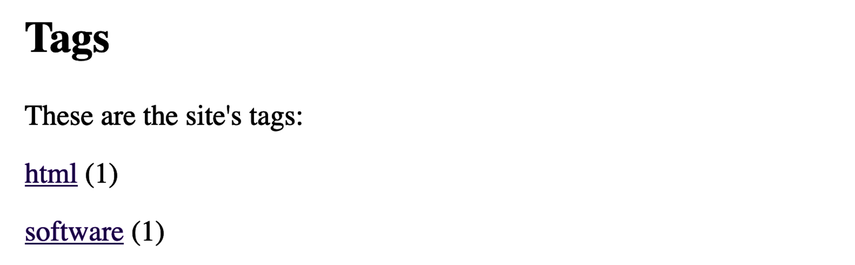
| | These are the site's tags: |
Now, visit http://localnost:1313/tags and you’ll see your tag list with counts and the associated content:
When you select a tag, Hugo looks for a layout associated with tags. If you want to customize this layout, create a layout named tags.html in the theme/basic/layouts/_default folder and use the same logic you use in your existing list layout to pull in the content. When you’re displaying content for a specific tag, you’re not interested in the collection of tags; you’re interested in the pages associated with the tag.
Before moving on, add the list of tags to the post’s single layout. Open themes/basic/layouts/posts/single.html.
To display the tags, iterate over the tags in the front matter using .Params.tags and the range function:
| | <p> |
| | By {{ .Params.Author }} |
| | </p> |
| | <p> |
| | Posted {{ .Date.Format "January 2, 2006" }} |
| » | <span class="tags"> |
| » | in |
| » | {{ range .Params.tags }} |
| » | <a class="tag" href="/tags/{{ . | urlize }}">{{ . }}</a> |
| » | {{ end }} |
| » | </span> |
| | </p> |
The tags listing page is located at /tags, and each tag itself is located at /tags/tag-name. As you iterate over each tag, you can construct the link to each tag by appending the tag name to /tags/. However, since tags might contain spaces or other characters, use the urlize function to encode the tag as a URL-safe string.
Each link in the tag list has a class of tag so you can more easily style the entries in the list. Open themes/basic/static/css/style.css and add the following CSS to change each tag into a gray button:
| | a.tag { |
| | background-color: #ddd; |
| | color: #333; |
| | display: inline-block; |
| | padding: 0.1em; |
| | font-size: 0.9em; |
| | text-decoration: none; |
| | } |
When you add padding to each tag so that the background color doesn’t touch the words, the boxes will become larger, so you can decrease the font size to make up the difference.
Visit http://localhost:1313/posts/first-post to see the updated byline with the tag list:

Your individual post page looks good, and you’ve got tags and categories configured. Now let’s look at customizing the URLs for your posts.