Using Content Blocks and Partials
Your home page layout and single page layout both contain the HTML skeleton. That skeleton is going to get a lot more complex once you add a header, footer, and navigation. Instead of duplicating that code in multiple places, Hugo provides a single place for you to put your skeleton so that all other layouts can build on it. When you created the theme, it generated it for you.
Locate the file themes/basic/layouts/_default/baseof.html and open it in your editor. You’ll see this code:
| | <!DOCTYPE html> |
| | <html> |
| | {{- partial "head.html" . -}} |
| | <body> |
| | {{- partial "header.html" . -}} |
| | <div id="content"> |
| | {{- block "main" . }}{{- end }} |
| | </div> |
| | {{- partial "footer.html" . -}} |
| | </body> |
| | </html> |
This file will be the “base” of every other layout you’ll create, hence its name. And instead of including the full skeleton, it’s pulling in other files, or partials, which contain pieces of the layout. Placing common pieces in partials makes it easier for you to reuse these across different layouts, and it helps you think about parts of your site as components. The template generator also created these files, but it left them blank. Let’s fill them in, one piece at a time.
The first partial listed in the baseof.html file is the head.html file, which you’ll find in themes/basic/layouts/partials/head.html. This file will contain the code that would normally appear in the head section of a website. Open it in your editor.
Add the following code to the file to define the head element, with one meta tag that specifies the content type, another meta tag that specifies the viewport, so your page will scale properly on mobile devices, and finally, the title of the site:
| | <head> |
| | <meta charset="utf-8"> |
| | <meta name="viewport" content="width=device-width, initial-scale=1"> |
| | <title>{{ .Site.Title }}</title> |
| | </head> |
Save the file when you’ve made those changes.
The next partial reference is the header.html file, so open the file themes/basic/layouts/partials/header.html. This file will hold the header of your page. It’s where you’ll put the banner and navigation. Add the following code to add an HTML header section and a nav section with links to the root of the site and the static pages you created in the previous chapter:
| | <header> |
| | <h1>{{ .Site.Title }}</h1> |
| | </header> |
| | |
| | <nav> |
| | <a href="/">Home</a> |
| | <a href="/about">About</a> |
| | <a href="/resume">Résumé</a> |
| | <a href="/contact">Contact</a> |
| | </nav> |
Hugo has support for a more complex menu system, where you can configure your menu titles and destinations in your site’s configuration file, but for small sites like this, it’s less work to hard-code the URLs in the navigation. Since the navigation is in a partial, you only have to maintain it in a single file, so there’s no advantage to doing it in a data-driven fashion like you would with a dynamic site.
Finally, create the footer of the site by opening themes/basic/layouts/_default/partials/footer.html, the last partial referenced in the baseof.html file. Add a footer element and a copyright date to the file with the following code:
| | <footer> |
| | <small>Copyright {{now.Format "2006"}} Me.</small> |
| | </footer> |
You’re using Go’s date formatting to print out the current year. Go uses Mon Jan 2 15:04:05 MST 2006 as a reference time for its formatters. Instead of having to use special characters to parse out a current time, Go lets you use this reference time to format the specific dates and times. In this case, you only want the year, so you can use “2006” as the formatting string.
All of the partials for the base template are in place, but before moving on, let’s look at the syntax for partials in the baseof.html file. Partials in the baseof.html template that Hugo generated for you look like this:
| | {{- partial "head.html" . -}} |
Previously, when you’ve used those curly braces to inject the title, you used {{. But this code uses {{-. The dash suppresses whitespace characters in the output, such as spaces and newline characters. Placing a dash after the opening braces removes all whitespace in front of the expression, and placing the dash in front of the closing braces removes whitespace after the expression. In most cases, it’s up to you whether or not you want to use them, but you’ll often see dashes used to reduce the number of blank lines in the files Hugo generates.
In addition to the dashes, there’s a dot after the name of the partial. The partial function takes a filename and a context for the data. In order to access data like the page title and content, you have to pass the context to the partial function, and a period means “the current context.” Remember that the default context for a layout is the Page context, so when you pass the dot to the partial function, you’re making the Page context available to the partial.
To use the new base template, replace the existing layouts you’ve used with code that defines a layout “block”. In the baseof.html file, you’ll find this line:
| | {{- block "main" . }}{{- end }} |
This line looks for a block named “main” and pulls it in. Those blocks are what you’ll define in your actual layout pages like index.html and single.html. Notice it’s also passing the current context, so you’ll be able to access it in the layout pages.
Define this block in your home page layout first. Open themes/basic/layouts/index.html and replace the contents with this code, which defines the main block:
| | {{ define "main" }} |
| | |
| | {{ .Content }} |
| | |
| | {{ end }} |
When Hugo builds the site, it’ll construct the home page by combining the content file (content/_index.md) with the layout file, which will then use the baseof file. The partials and content are all assembled, creating the full page.
The index.html layout only affects your site’s home page, so modify the code in themes/basic/layouts/_default/single.html so the single page layout works the same way:
| | {{ define "main" }} |
| | |
| | <h2>{{ .Title }}</h2> |
| | |
| | {{ .Content }} |
| | |
| | {{ end }} |
This code looks just like the code in the home page layout, except you’re also displaying the title of the page.
With the changes in place, make sure all your files are saved and then fire up the development server with hugo server. Visit http://localhost:1313 and test your pages. The home page displays with the current year displayed in the footer.
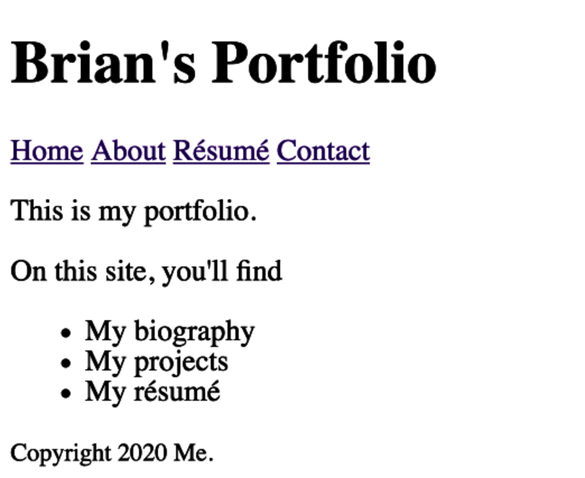
Use the navbar you created to jump between pages to ensure they all work.
You now have a working theme that’s organized and maintainable. Let’s add some CSS to make it look nice.