STEP 2:
Create Project Folders
Now that your Documents folder is clear, it’s time to begin anew. You’ve created a beautiful blank slate, and now we’ll add a little bit of structure to store the new things you’ll be saving there.
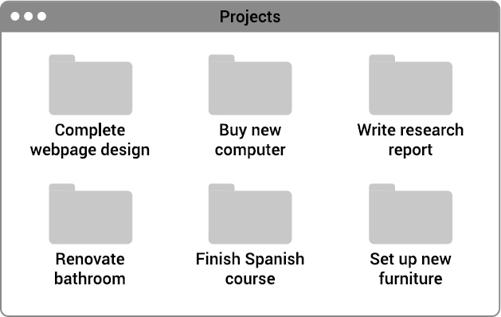
For the second step, start by creating a new folder called “Projects.” This will be the official home of all your information related to projects (short-term efforts with a clear end goal) going forward. Inside that new folder, create a subfolder for each one of your active projects and title them with the name of each project.
The reason we want to focus on projects next is that they are the endeavors you’re actively working on right now. They are therefore, by definition, more likely to be timely and pressing. You can go ahead and start moving any documents, notes, or files you’re actively working with into the appropriate project folders, but don’t feel the need to do it up front or all at once.
For example, for a bathroom renovation project, you might have:
- • Measurements of the bathroom’s dimensions
- • Photos of tile patterns and colors you might want to use
- • Quotes from several contractors you’ve spoken with
- • Details of the winning bid and a signed contract
- • Budget spreadsheet to track spending
Even for a project being executed by someone else, there is still lots of information to keep track of!